Ubuntu 17.10 用 apt 搭建 lamp 环境、安装 phpmyadmin、redis 及扩展、mysql 扩展、开启错误提示、配置虚拟主机,
Ubuntu 17.10 用 apt 搭建 lamp 环境、安装 phpmyadmin、redis 及扩展、mysql 扩展、开启错误提示、配置虚拟主机,
最终环境:
Ubuntu17.10、Apache2.4.27、MySQL5.7.20、PHP7.1
1. 安装 apache
官方源有,直接安装:
sudo apt-get install apache2
2. 安装 mysql
官方源有,直接安装:
sudo apt-get install mysql-server
安装期间会提示设置 MySQL administrator 的密码
============================================================
PS:需要什么软件或包,直接用 apt-cache 搜索
sudo apt-cache search <关键词>
确认包名后,直接用 apt-get install 安装。
3. 安装 php
官方源有 php7.1,直接安装:
sudo apt-get install php7.1 php7.1-dev
php7.1 是主程序,php7.1-dev 是 7.1 版的工具包(有 phpize、php-config 等等,phpize 可以为 已编译好的 php 建立扩展模块,php-config 可以获得 php 的详细配置)。
============================================================
如果要装 php5.6 的话,推荐这个 PPA 源(就算不装 5.6,也推荐):ppa:ondrej/php。这个源有 php5.6 和 php7.x 以及绝大多数的 php 扩展,包括 redis、memcache、mongodb 等等。
添加 ppa:ondrej/php 源:
sudo add-apt-repository ppa:ondrej/php
sudo apt-get update
安装 php5.6:
sudo apt-get install php5.6
4. 重启 apache
sudo /etc/init.d/apache2 restart
更多选项:
Usage: apache2 {start|stop|graceful-stop|restart|reload|force-reload}
5. 检查 apache
访问 http://localhost/。这是 apache 服务器的默认页在 /var/www/html 下,里面还介绍了 apche 的相关配置文件。
6. 检查 mysql
终端输入 mysql,跟着打两个 Tab,看到所有有关 mysql 的命令包:
mingc@mingc-GE60-2PL:~/Downloads/mysql-fae9884$ mysql
mysql                      mysql_install_db
mysqladmin                 mysqloptimize
mysqlanalyze               mysql_plugin
mysqlbinlog                mysqlpump
mysqlcheck                 mysqlrepair
mysql_config_editor        mysqlreport
mysqld                     mysql_secure_installation
mysqld_multi               mysqlshow
mysqld_safe                mysqlslap
mysqldump                  mysql_ssl_rsa_setup
mysqldumpslow              mysql_tzinfo_to_sql
mysql_embedded             mysql_upgrade
mysqlimport
输入mysql -u<你的账号> -p,回车,输入密码,进入 mysql:
mingc@mingc-GE60-2PL:~/Downloads/mysql-fae9884$ mysql -uroot -p
Enter password:
Welcome to the MySQL monitor.  Commands end with ; or \g.
Your MySQL connection id is 73
Server version: 5.7.20-0ubuntu0.17.10.1 (Ubuntu)

Copyright (c) 2000, 2017, Oracle and/or its affiliates. All rights reserved.

Oracle is a registered trademark of Oracle Corporation and/or its
affiliates. Other names may be trademarks of their respective
owners.

Type 'help;' or '\h' for help. Type '\c' to clear the current input statement.

mysql>
7. 检查 php
php -v
不出意外的话,应该显示 php 的版本
8. 创建 php 探针
sudo vim /var/www/html/info.php
添加如下内容:
<?php
phpinfo();
改变所有者:
sudo chown www-data:www-data /var/www/html/info.php
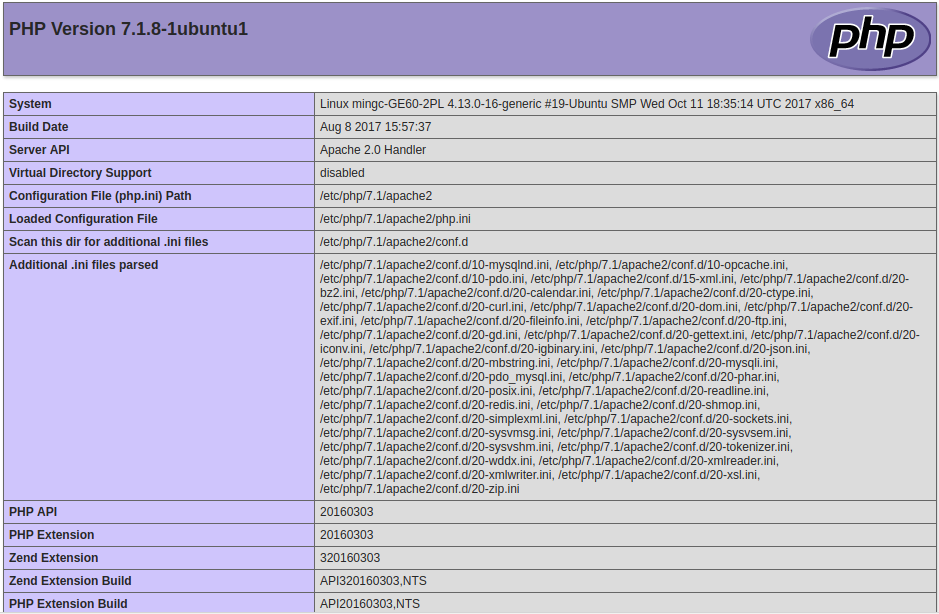
访问 http://localhost/info.php,得到有关 PHP 的详细页面。
9. 安装 phpmyadmin
sudo apt-get install phpmyadmin
安装期间,
询问要连接的服务器,选择 apache2;
询问创建 phpmyadmin 的数据库,选择“是”;
询问设置登录 phpmyadmin 的用户和密码。
然后浏览器访问:http://localhost/phpmyadmin
10. 安装 redis 服务和 redis 扩展
官方源有,直接安装:
sudo apt-get install redis-server
期间,一些需要的工具包也会安装。安装好后,默认自启动、后台运行,配置文件在 /etc/redis 目录下。
利用 apt 安装的好处就是,服务和扩展一并装上了。
重启 apche, sudo /etc/init.d/apache2 restart
访问 http://localhost/info.php,确认 redis 扩展:

测试一下:
终端输入 redis-,跟着打两个 Tab 键,看到有关 redis 的命令和工具:
mingc@mingc-GE60-2PL:/etc/redis$ redis-
redis-benchmark  redis-check-rdb  redis-server
redis-check-aof  redis-cli
redis-cli 是 访问 redis-server 的客户端接口,执行 redis-cli 即可登录到 redis 服务器:
mingc@mingc-GE60-2PL:~/Downloads/mysql-fae9884$ redis-cli
127.0.0.1:6379>
更多 redis-cli 的命令选项,使用 redis-cli --help 查看。
再写一段 php 脚本测试一下, vim /var/www/html/test_redis.php
内容如下:
<?php
$redis = new Redis();
$redis->connect('127.0.0.1', 6379);
echo "Connection to server sucessfully";
echo "Server is running: " . $redis->ping();
11. 安装 mysql 扩展
在上面的 http://localhost/info.php 里可以看到,没有 mysql 扩展。虽说 php7 里弃用了 mysql 扩展,但有些旧项目还是需要的。装一下 mysql 扩展。
这里选择编译安装(通过 apt 安装的 php-mysql 扩展,如果是 php7.x,那就是装 pdo_mysql 扩展)
(1)直接从 PECL 官方站 搜索 mysql,找到 MySQL 扩展的 页面 ,点击页面的 [ Browse Source ],选择最新的 commit、下载 tar.gz 包。我下载后的包名为 mysql-fae9884.tar.gz。
(2)编译安装:
tar -xf mysql-fae9884.tar.gz
cd mysql-fae9884
phpize
./configure --with-php-config=/usr/bin/php-config
sudo make && sudo make install
前面装 php7.1 的时候,也装了 php7.1-dev,这里面就有 phpize 和 php-config。而 --with-php-config 是 php-config 脚本(命令)的位置,可以使用 whereis php-config 查看。
编译安装成功后,会有成功提示 和 mysql 扩展模块(.so 文件)的路径:
Build complete.
Don't forget to run 'make test'.

Installing shared extensions:     /usr/lib/php/20160303/
然后,编辑 php 用于 apache 的配置文件 /etc/php/7.1apache2/php.ini,在最后添加一行:
extension=mysql.so
重启 apche, sudo /etc/init.d/apache2 restart
访问 http://localhost/info.php,确认下有了 mysql 扩展。

写一段 php 脚本测试: vim /etc/www/html/test_mysql.php
内容如下:
<?php
$mysql = mysql_connect('127.0.0.1', 'root', 'root');
if(!$mysql) {
	die(mysql_error($mysql));
}
echo 'Ok' . "\r\n";
12. 开启 php 和 apache 的错误提示
默认不显示 php 错误,下面开启。
(1)修改 php 的配置文件,在 /etc/php/7.1/apache2 下,打开 php.ini。
(2)搜索 display_errors = Off,修改为 On
(3)搜索 error_reporting = E_ALL & ~E_NOTICE,修改为 E_ALL | E_STRICT(搜不到的画搜短一点:“error_reporting =”)。
(4)修改 apache 的配置文件,在 /etc/apache2 下,打开 apache.conf。
(5)文件最后添加两行:
php_flag display_errors on
php_value error_reporting 2039
(6)重启 apache:
sudo /etc/init.d/apache2 restart
13. 创建虚拟主机
创建虚拟主机自然用 apache 配置,了解一下 apache 的配置目录:
/etc/apache2
├── apache2.conf      # 主配置文件,其他的一些配置文件通过 Include 指令包含进来
├── conf-available    # 所有可用的配置文件(里面的 *.conf 文件内容几乎都被默认注释了)
├── conf-enabled      # 可用的配置文件中,启用了哪些,一般都是符号链接、指向上面的 conf-available 目录里每个 *.conf 文件
├── envvars           # 环境变量
├── magic
├── mods-available    # 所有可用的模块
├── mods-enabled      # 哪些模块被启用了
├── ports.conf        # 定义端口监听
├── sites-available   # 重点来了:所有可用的站点
└── sites-enabled     # 哪些站点被启用了
步骤简单,就是在 sites-available 目录定义站点配置文件,然后在 sites-enabled 里建立指向这个文件的符号连接。
(1)建配置
cd /etc/apache2/sites-available/
sudo cp 000-default.conf my.site.conf
vim my.site.conf
修改如下(注意别把注释与指令行放在一行,会有语法错误):
<VirtualHost *:80>
	# The ServerName directive sets the request scheme, hostname and port that
	# the server uses to identify itself. This is used when creating
	# redirection URLs. In the context of virtual hosts, the ServerName
	# specifies what hostname must appear in the request's Host: header to
	# match this virtual host. For the default virtual host (this file) this
	# value is not decisive as it is used as a last resort host regardless.
	# However, you must set it for any further virtual host explicitly.

	# 域名
	ServerName my.site

	# 域名别名,可以设置多个,空格隔开
	ServerAlias my.site

	ServerAdmin webmaster@localhost
	DocumentRoot /var/www/my.site
	<Directory "/var/www/my.site/">
	    # 启用符号链接
	    Options FollowSymLinks

	    DirectoryIndex index.php index.html index.htm

	    # 注意这个配置,会影响本地目录下的 .htaccess 的启用
	    AllowOverride All

	    Order deny,allow
	    Allow from All

	    # 限制访问目录,多个目录用空格隔开
	    # php_admin_value open_basedir "/var/www/my.site/:/tmp:/usr/lib/php/"
	</Directory>

	# Available loglevels: trace8, ..., trace1, debug, info, notice, warn,
	# error, crit, alert, emerg.
	# It is also possible to configure the loglevel for particular
	# modules, e.g.
	#LogLevel info ssl:warn

	ErrorLog ${APACHE_LOG_DIR}/error.log
	CustomLog ${APACHE_LOG_DIR}/access.log combined

	# For most configuration files from conf-available/, which are
	# enabled or disabled at a global level, it is possible to
	# include a line for only one particular virtual host. For example the
	# following line enables the CGI configuration for this host only
	# after it has been globally disabled with "a2disconf".
	#Include conf-available/serve-cgi-bin.conf
</VirtualHost>

# vim: syntax=apache ts=4 sw=4 sts=4 sr noet
精简一下就是这样的:
<VirtualHost *:80>
	ServerName my.site
	ServerAlias my.site
	ServerAdmin webmaster@localhost
	DocumentRoot /var/www/my.site
	<Directory "/var/www/my.site/">
	    Options FollowSymLinks
	    DirectoryIndex index.php index.html index.htm
	    AllowOverride All
	    Order deny,allow
	    Allow from All
	    # php_admin_value open_basedir "/var/www/my.site/:/tmp:/usr/lib/php/"
	</Directory>
	ErrorLog ${APACHE_LOG_DIR}/error.log
	CustomLog ${APACHE_LOG_DIR}/access.log combined
</VirtualHost>
(2)建符号链接
cd /etc/apache2/
sudo ln -s ./sites-available/my.site.conf ./sites-enabled/my.site.conf
(3)检查语法
apachectl configtest
(4)添加 hosts 解析
vim /etc/hosts,添加一行:
127.0.0.1 my.site
(4)重启apache
sudo /etc/init.d/apache2 restart
然后,按照配置的站点目录 /etc/www/my.site,创建目录和测试文件:
sudo makedir -p /etc/www/my.site
cd /etc/www/my.site/
sudo echo "<h2>Hello, Welcome to my.site!</h2>" > index.html
浏览器访问 my.site,
OK,完成~~
参考链接:
- http://howtoubuntu.org/how-to-install-lamp-on-ubuntu
- Ubuntu Server 16.04下配置LAMP环境
- Ubuntu 16.04 搭建 LAMP
- 打开PHP和Apache的错误提示
- Ubuntu16.04安装redis和php的redis扩展
-
Ubuntu Apache 虚拟主机配置
- httpd-vhosts设置域名别名
-
php错误提示 open_basedir restriction in effect 解决
相关链接:
- PHP 及扩展的 PPA 源:https://launchpad.net/~ondrej/+archive/ubuntu/php/+index?batch=75&memo=75&start=75
评论暂时关闭