【云计算的1024种玩法】手把手教你如何编译一个高性能 OpenResty,1024种openresty
【云计算的1024种玩法】手把手教你如何编译一个高性能 OpenResty,1024种openresty
介绍
本教程将介绍如何一步一步手动编译 OpenResty,OpenResty 是一个基于 Nginx 与 Lua 的高性能 Web 平台,拥有非常好的拓展性让服务器发挥更好性能。教程中将全部依赖 Linux 发行版组建中的依赖,而免除编译带来的后期维护成本。
OpenResty 的额外拓展:
- OpenSSL 1.0.2,提供 ALPN 支持,支持 HTTP/2
- Nginx-CT,透明证书提高 HTTPS 网站的安全性和浏览器支持
- ngx_PageSpeed,Google 家的网站性能优化工具
- Brotli,实现比 Gzip 更高的压缩率
- Jemalloc,优化内存管理
准备
云翼计划
学生用户可以在linuxboy官网上进行学生认证后购买一定配置的ECS,仅需9.9元每月,学生用户无需担心花费过多用在服务器的问题。
学生用户在经过学生认证过后就可以在相关网址进行购买,网址为:https://promotion.aliyun.com/ntms/campus2017.html,
买好了服务器就可以去刚刚注册好的账号管理里的管理控制台去查看服务器以及它的一些配置。
远程控制
【云计算的1024种玩法】使用 DMS 只要一个浏览器轻松搞定运维任务
【云计算的1024种玩法】ECS和轻量应用服务器的远程控制入门
设置安全组(重要)
如果不设置好安全组,究竟是无法访问还是编译失败会分不清的。
需要开放 : 80 和 443 端口
[【云计算的1024种玩法】用好linuxboy的安全组
](https://yq.aliyun.com/articles/228290)
教程
本教程以,Ubuntu 16.04 LTS 64位版 为例。
设定版本变量
如果软件版本更新后,为了方便起见,后续修改版本号只需修改下面的变量即可。 在 SSH终端 中输入:
# Version
# OpenSSLVersion='openssl-1.0.2n'; //Ubuntu 16.04 系统默认为 1.0.2
NginxCTVersion='1.3.2';
PageSpeedVersion='1.12.34.3';
SystemBit='X64';
OpenRestyVersion='openresty-1.13.6.1';
上述软件版本更新查看: OpenSSL、Nginx-CT、PageSpeed、OpenResty
安装依赖
更新系统软件源缓存顺便升级组件:
apt update
apt upgrade -y
安装依赖组件:
apt install build-essential libreadline-dev libncurses5-dev libpcre3 libpcre3-dev libssl-dev zlib1g-dev unzip git perl make libjemalloc1 libjemalloc-dev
下载源码
这里将 OpenResty 所需的源代码均放置在 /root/src 目录下,方便管理。
cd /root
mkdir src
cd src
下载 OpenResty 和其拓展的源代码:
## Ubuntu 16.04 默认已经提供 1.0.2
##wget https://www.openssl.org/source/$OpenSSLVersion.tar.gz
##tar xzf $OpenSSLVersion.tar.gz

wget https://github.com/grahamedgecombe/nginx-ct/archive/v$NginxCTVersion.tar.gz
tar xzf v$NginxCTVersion.tar.gz

git clone https://github.com/google/ngx_brotli.git
cd ngx_brotli
git submodule update --init
cd ../

wget https://github.com/apache/incubator-pagespeed-ngx/archive/v$PageSpeedVersion-stable.zip
unzip v$PageSpeedVersion-stable.zip
cd incubator-pagespeed-ngx-$PageSpeedVersion-stable/
wget https://dl.google.com/dl/page-speed/psol/1.12.34.2-$SystemBit.tar.gz
tar -xzvf 1.12.34.2-$SystemBit.tar.gz
cd ../

wget -c https://openresty.org/download/$OpenRestyVersion.tar.gz
tar zxf $OpenRestyVersion.tar.gz
编译 OpenResty
cd $OpenRestyVersion
./configure --prefix=/usr/local/openresty \
--user=www-data --group=www-data \
--add-module=../ngx_brotli \
--add-module=../nginx-ct-$NginxCTVersion \
--add-module=../incubator-pagespeed-ngx-$PageSpeedVersion-stable \
--with-http_v2_module \
--with-http_ssl_module \
--with-http_gzip_static_module \
--with-ld-opt='-ljemalloc'

make && make install
如果是 Ubuntu 16.04 以下系统,请添加:
--with-openssl=../$OpenSSLVersion \设置变量
[ -z "`grep ^'export PATH=' /etc/profile`" ] && echo "export PATH=/usr/local/openresty/nginx/sbin:\$PATH" >> /etc/profile
[ -n "`grep ^'export PATH=' /etc/profile`" -a -z "`grep /usr/local/openresty/ /etc/profile`" ] && sed -i "s@^export PATH=\(.*\)@export PATH=/usr/local/openresty/nginx/sbin:\1@" /etc/profile
. /etc/profile
后面就可以用,nginx -t 检测配置是否正确,nginx -s reload 重载 Nginx 了。
创建相关目录
mkdir /data/wwwlogs/ -p
mkdir /data/wwwroot/default/ -p
cp /usr/local/openresty/nginx/html/index.html /data/wwwroot/default/
设置服务和开机启动
创建 /etc/systemd/system/openresty.service 文件,内容:
cd /etc/systemd/system/
wget https://gist.githubusercontent.com/ivmm/dbf03e6c7970488652878bb8ddc3a775/raw/48436d911d08e57774c759bdb50548dec31dc86f/openresty.service
编辑 /usr/local/openresty/nginx/conf/nginx.conf 文件为:
cd /usr/local/openresty/nginx/conf/
rm nginx.conf -rf
wget https://gist.githubusercontent.com/ivmm/ab81dee184b64036bd4b8d5abe676264/raw/1cbfbc387aa956f6d9afe39d60e2b8c988a10688/nginx.conf
重新加载 systemd 服务,以便它可以找到我们的文件:
systemctl daemon-reload
通过 systemd 重启 OpenResty:
systemctl restart openresty
设置开机启动:
systemctl enable openresty
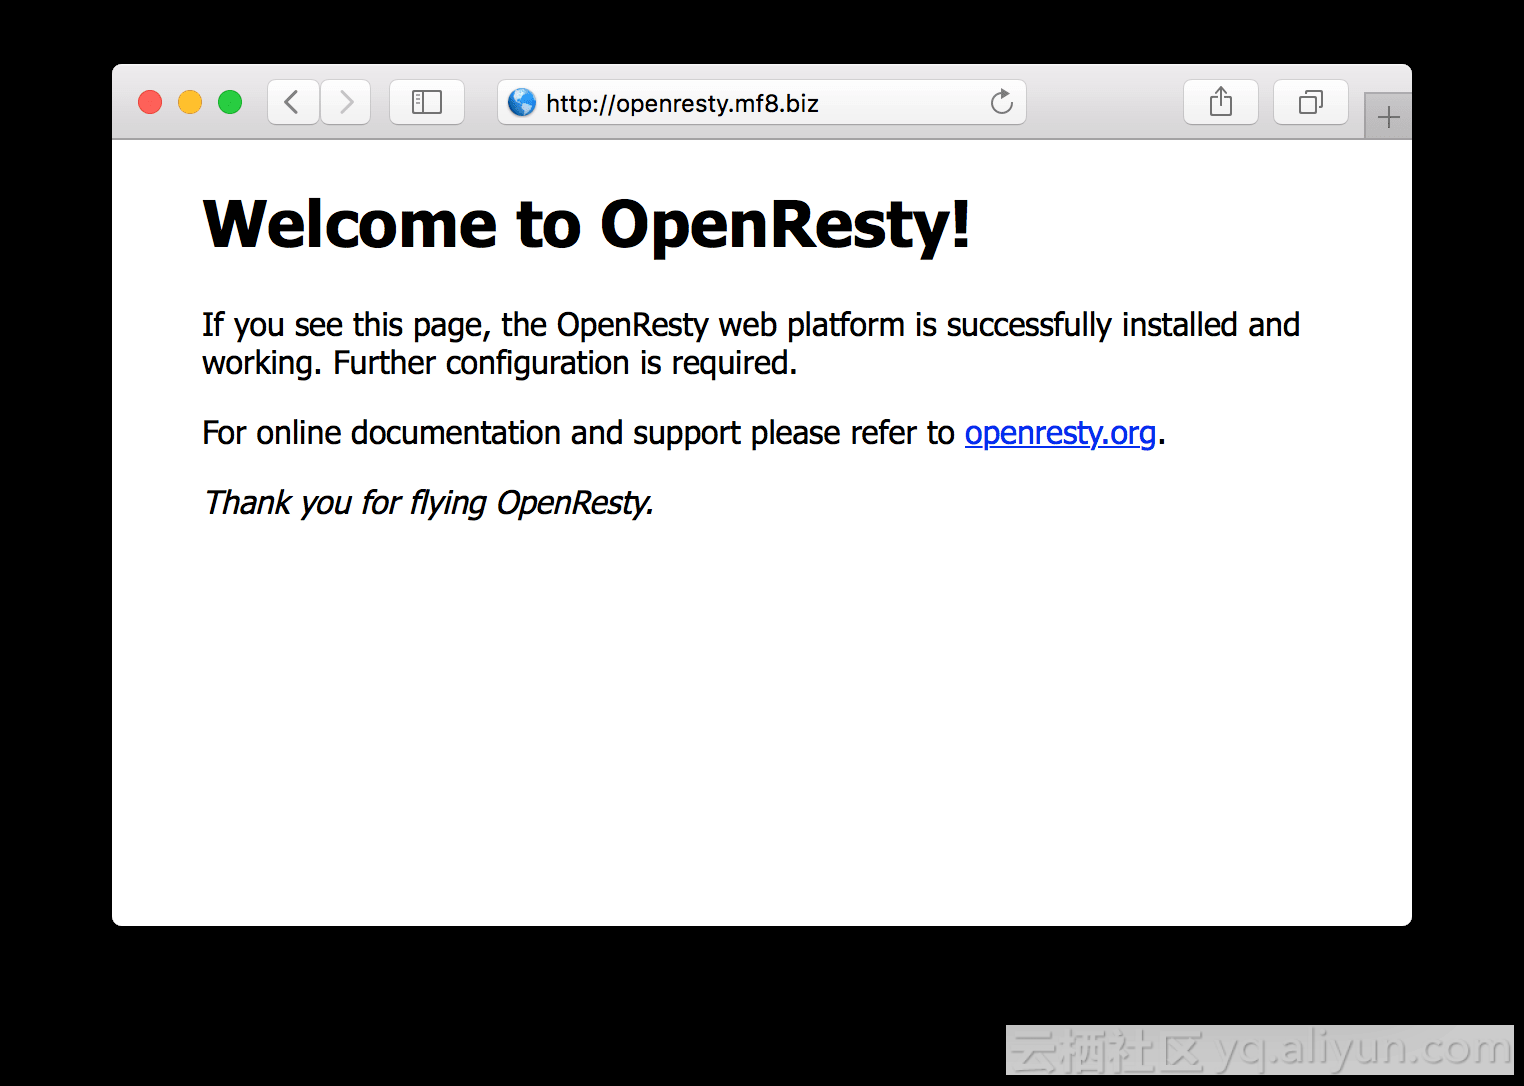
打开你的服务器 IP,就能看到安装好的 OpenResty 提示页了 https://pics.mf8.biz/mf8/awxi3.png
编译升级的教程:
【云计算的1024种玩法】手把手教你如何编译升级 OpenResty
评论暂时关闭